

Integrations
In many cases, you can integrate Telerivet with other software without having to write the code yourself.
If you have developed a plugin or integration for a system not listed here, let us know.
ChatGPT
Telerivet is available as a plugin in ChatGPT on all ChatGPT plans, including the Free plan.
To add Telerivet to ChatGPT:
- Open the Telerivet plugin page in ChatGPT.
- Click Install plugin.
- You will be redirected to Telerivet to authorize access. Select the permissions you want to grant to ChatGPT, and the organization you want to grant access to, then click Approve.
With this plugin, ChatGPT can work directly in your Telerivet account. What you can do:
- Send messages: draft and send one-off messages or bulk broadcasts to groups, and schedule messages.
- Manage contacts: search, create, update, and tag contacts, and organize them into groups.
- Build automations: set up auto-replies, keyword rules, polls, and drip campaigns. ChatGPT can also write and test JavaScript code that runs on Telerivet's servers to handle incoming messages.
- Work with data: read and write data tables, and look up message and delivery status.
- Analyze activity: analyze large message and contact datasets to report on delivery rates, response rates, and engagement trends.
- Explore channels: see which messaging channels are available in your country.
Built-in safeguards: by default, you confirm each action that sends messages or invokes or activates automations before it happens. Organization administrators can restrict which actions ChatGPT may take and review activity in the audit log. You can also prevent ChatGPT from accessing sensitive data such as messages or contact information when connecting.
Once connected, you can ask ChatGPT to perform actions in Telerivet such as sending messages, creating automated services, or managing your project configuration.
Claude
Claude by Anthropic supports connecting to external MCP servers, allowing Claude to interact with the Telerivet API directly from a conversation. This works in claude.ai and Claude Desktop.
This functionality is available on Claude Pro, Max, Team, and Enterprise plans, but is not available on the Claude Free plan.
To add Telerivet's MCP server to Claude:
- Click Customize in claude.ai or Claude Desktop.
- Click the Connectors tab.
- Click Add.
- Enter the following settings:
- Name: Telerivet
- Remote MCP Server URL:
https://api.telerivet.com/mcp
- Click Continue.
- Accept the default settings (Authentication: always required, OAuth client: Use Anthropic's hosted client metadata), and click Add.
- Click Connect.
- You will be redirected to Telerivet to authorize access. Select the permissions you want to grant to Claude, and the organization you want to grant access to, then click Approve.
Once connected, you can ask Claude to perform actions in Telerivet such as sending messages, creating automated services, or managing your project configuration.
After adding the MCP server via claude.ai or Claude Desktop, it will also be available in Claude Code (requires restarting Claude Code).
For more details about Telerivet's MCP server and available tools, see the MCP documentation.
Claude Code
Claude Code by Anthropic supports connecting to external MCP servers, allowing it to perform actions in your Telerivet account such as creating and testing automated services.
To add Telerivet's MCP server to Claude Code:
- Run
claude mcp add --transport http telerivet https://api.telerivet.com/mcp - Run
claude, then/mcpand select the Telerivet server to authenticate. - You will be redirected to Telerivet to authorize access. Select the permissions you want to grant to Claude Code, and the organization you want to grant access to, then click Approve.
For more details about Telerivet's MCP server and available tools, see the MCP documentation.
Codex
Codex by OpenAI supports connecting to external MCP servers, allowing Codex to perform actions in your Telerivet account such as creating and testing automated services. This applies to the Codex CLI, IDE extension, and Mac app, but not the cloud web app.
To add Telerivet's MCP server to Codex:
- Run
codex mcp add telerivet --url https://api.telerivet.com/mcp - You will be redirected to Telerivet to authorize access. Select the permissions you want to grant to Codex, and the organization you want to grant access to, then click Approve.
For more details about Telerivet's MCP server and available tools, see the MCP documentation.
Antigravity CLI
Antigravity CLI by Google (the successor to Gemini CLI) supports connecting to external MCP servers, allowing it to perform actions in your Telerivet account such as creating and testing automated services.
To add Telerivet's MCP server to Antigravity CLI:
- Add the following to ~/.gemini/config/mcp_config.json (global) or .agents/mcp_config.json (per-project) within the top-level
{}:"mcpServers": { "telerivet": { "serverUrl": "https://api.telerivet.com/mcp" } } - Run
agy. - Run
/mcpwithin Antigravity to open the MCP manager, then authenticate the Telerivet server. - You will be redirected to Telerivet to authorize access. Select the permissions you want to grant to Antigravity, and the organization you want to grant access to, then click Approve.
For more details about Telerivet's MCP server and available tools, see the MCP documentation.
Hermes Agent
Hermes Agent by Nous Research supports connecting to external MCP servers, allowing it to perform actions in your Telerivet account such as sending messages, creating and testing automated services, or managing your project configuration.
To add Telerivet's MCP server to Hermes Agent:
- Run
hermes mcp add telerivet --auth oauth --url https://api.telerivet.com/mcp - Run
hermes. When Hermes first connects to the Telerivet MCP server, it will open your browser (or print a URL to open) to authorize access. - You will be redirected to Telerivet to authorize access. Select the permissions you want to grant to Hermes, and the organization you want to grant access to, then click Approve.
Hermes saves the access token in ~/.hermes/mcp-tokens/ and reuses it in future sessions. To authorize again later, run hermes mcp login telerivet.
For more details about Telerivet's MCP server and available tools, see the MCP documentation.
Zapier
Zapier is a web service that lets thousands of web apps talk to each other, including Google Docs, Dropbox, Facebook Pages, Twitter, RSS feeds, Salesforce, Wordpress, Stripe, incoming and outgoing email, and more. (See all apps)
Telerivet has developed a Zapier app to make it easy to integrate Telerivet with any other web app on Zapier.
Telerivet's Zapier app allows you to trigger the following actions:
- send a text message
- send a text message to a group
- create or update a contact
- trigger an automated service for a contact
- send a voice call
In addition, you can trigger actions in other web apps when you receive an incoming message on Telerivet.
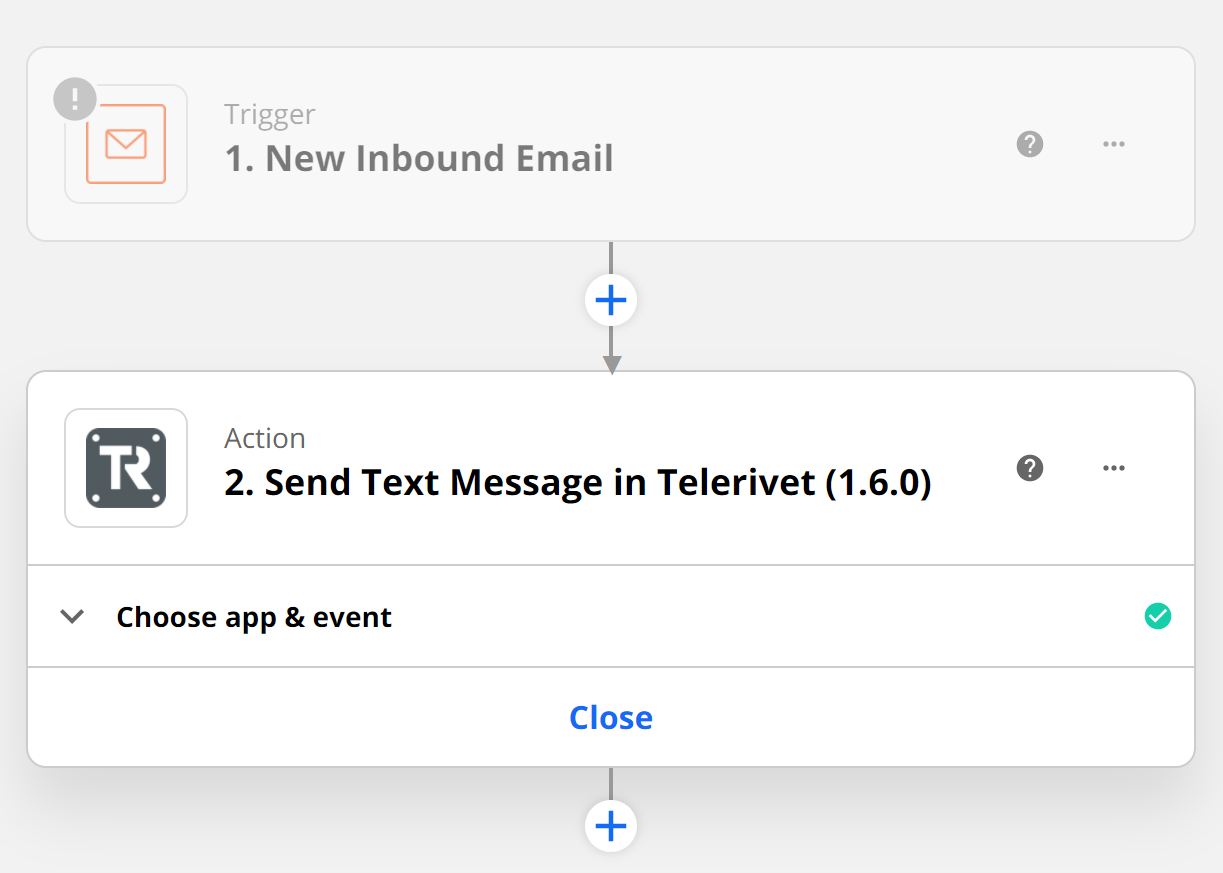
To get started, add Telerivet to your Zapier account. The Telerivet Zapier app is currently invite-only, so you'll need to use that link before Telerivet shows up in your Zapier account.
In order to use Zapier, you will need to add an API client to your project with the following permissions:
- Send messages (if using the Send Text Message, Send Group Text Message, Trigger Service for Contact, or Send Voice Call actions)
- Edit contacts (if using the Import Contact action)
Contact us if you have issues with using Telerivet from Zapier or to request additional actions or triggers.
Zendesk
Zendesk Support is cloud-based software for tracking, prioritizing, and solving customer support tickets.
Telerivet's Zendesk integration lets you use text messaging (SMS, MMS, or WhatsApp) as a Zendesk Support channel in any country.
Your end-users can send support requests via SMS to a local phone number, which will appear as tickets in your Zendesk Support account. When your Zendesk Support agents reply, the replies will be sent as SMS messages from the same phone number.
To get started, install the Telerivet integration from the Zendesk Marketplace.
CommCare
CommCare is an open-source and cloud-based platform developed by Dimagi designed to support frontline health workers in gathering and distributing information.
Dimagi has developed built-in support for using Telerivet as a SMS gateway within CommCare.
See instructions on CommCare's support site.
Viamo
Viamo (formerly VOTO Mobile) is a cloud-based mobile phone notification and survey platform that supports both voice (IVR) and SMS.
Viamo removes the barriers to insightful mobile communication between citizens and the organizations that serve them, by providing easy-to-use tools for community announcements, mobile polling, citizen-driven reporting, and information access.
Viamo has built-in support for using Telerivet as a SMS gateway within the Viamo platform. To connect Telerivet to your Viamo account, click the SMS Providers tab on the Organization Settings page in your Viamo account, then click the Telerivet logo.
Cyclos
Cyclos is feature-rich online and mobile banking software used by local banks, microfinance institutions, and others to easily create mobile banking and payment systems with an SMS interface.
Telerivet can be used to send and receive SMS messages via Cyclos. Configuring Telerivet with Cyclos only requires entering a few settings in the Cyclos administration interface (no plugin installation needed).
If you're using Cyclos 4, configure outbound SMS with Telerivet as follows:
- In Cyclos, log in as an administrator and open the System menu.
- Select the Configurations section, then select the configuration you want to edit
- Under Outbound SMS messages enter the following settings:
Gateway URL: https://api.telerivet.com/v1/projects/YOUR_PROJECT_ID/messages/send?to_number={number}&content={message}
HTTP username: YOUR_API_KEY
HTTP password: abcdefg (doesn't matter what you put here, but it can't be blank)
HTTP request type: POST
HTTP request POST body: abcdefg (doesn't matter what you put here, but it can't be blank)
Character Encoding: UTF-8
(Note: fill in the values in red with the actual values shown on your API keys page) - Save the configuration.
Configure inbound SMS with Telerivet as follows:
- In Cyclos, log in as an administrator and open the System menu.
- Select the Configurations section, then select the configuration you want to edit
- Select the Channels tab, then select SMS operations
- Enter the following settings:
Enabled: (checked)
Mobile number source: {from_number}
SMS message source: {content}
- In your Telerivet account, add a Webhook service. Set the Webhook URL to the URL shown next to Inbound SMS URL in Cyclos.
- Save the Cyclos configuration.
AcySMS
AcySMS is a Joomla module that makes it easy to send and receive SMS messages from your Joomla website, for example to send follow-up campaigns, auto-responders, newsletters, promotions, deals, and automated messages.
AcySMS includes built-in support for using Telerivet as an SMS gateway. See installation instructions (at bottom of page)
RapidSMS
RapidSMS is a free and open-source framework for building SMS services using Python.
By using the Telerivet backend, your RapidSMS project can easily send and receive SMS messages through Android phones.
rapidsms-telerivet, by Tim Akinbo (Download .zip) (Source)
Ushahidi
The Ushahidi platform makes it easy to crowdsource information via SMS and other channels, as well as to visualize and map your collected data.
By using the Telerivet plugin, your Ushahidi project can easily send and receive SMS messages through Android phones, while still benefiting from Telerivet's web tools that make it easy to manage and monitor your Android devices.
telerivet-ushahidi, by Telerivet (Download .zip) (Source)
HubSpot
HubSpot is a cloud-based CRM platform with tools for marketing, sales, and customer service. Telerivet offers the following integrations with HubSpot.
HubSpot integrations are configured from the Integrations page in your project settings (open your project, then go to Settings > Integrations).
Inbox Connector
The HubSpot Inbox Connector lets you use text messaging (SMS, MMS, or WhatsApp) as a channel in HubSpot's Help Desk. Incoming messages are routed to a HubSpot Inbox as conversations, and replies your agents send from HubSpot are delivered back to the contact as messages from your Telerivet phone number.
You can connect more than one inbox, and set up automated services to direct messages to a specific inbox or team.
To set it up, open Settings > Integrations, find HubSpot Inbox Connector in the Integrations Directory, and click Connect to authorize Telerivet to access your HubSpot account.